

Let’s get cooking! Are you ready for a flavor explosion that’ll make your taste buds sing? This Baked Teriyaki Salmon Recipe is about to become your new obsession. Imagine tender, flaky salmon, glazed with a sweet and savory teriyaki sauce, its rich aroma filling your kitchen. This isn’t just dinner; it’s a culinary adventure.
This recipe is so easy, even I, a self-proclaimed kitchen klutz, can master it. Prepare for compliments galore; your friends and family will be begging for seconds. It’s the perfect weeknight meal or a showstopper for a special occasion.
Here are some things that make this Baked Teriyaki Salmon Recipe truly special:
It’s incredibly easy to prepare, even for beginner cooks.
The flavor profile is a perfect balance of sweet, savory, and tangy.
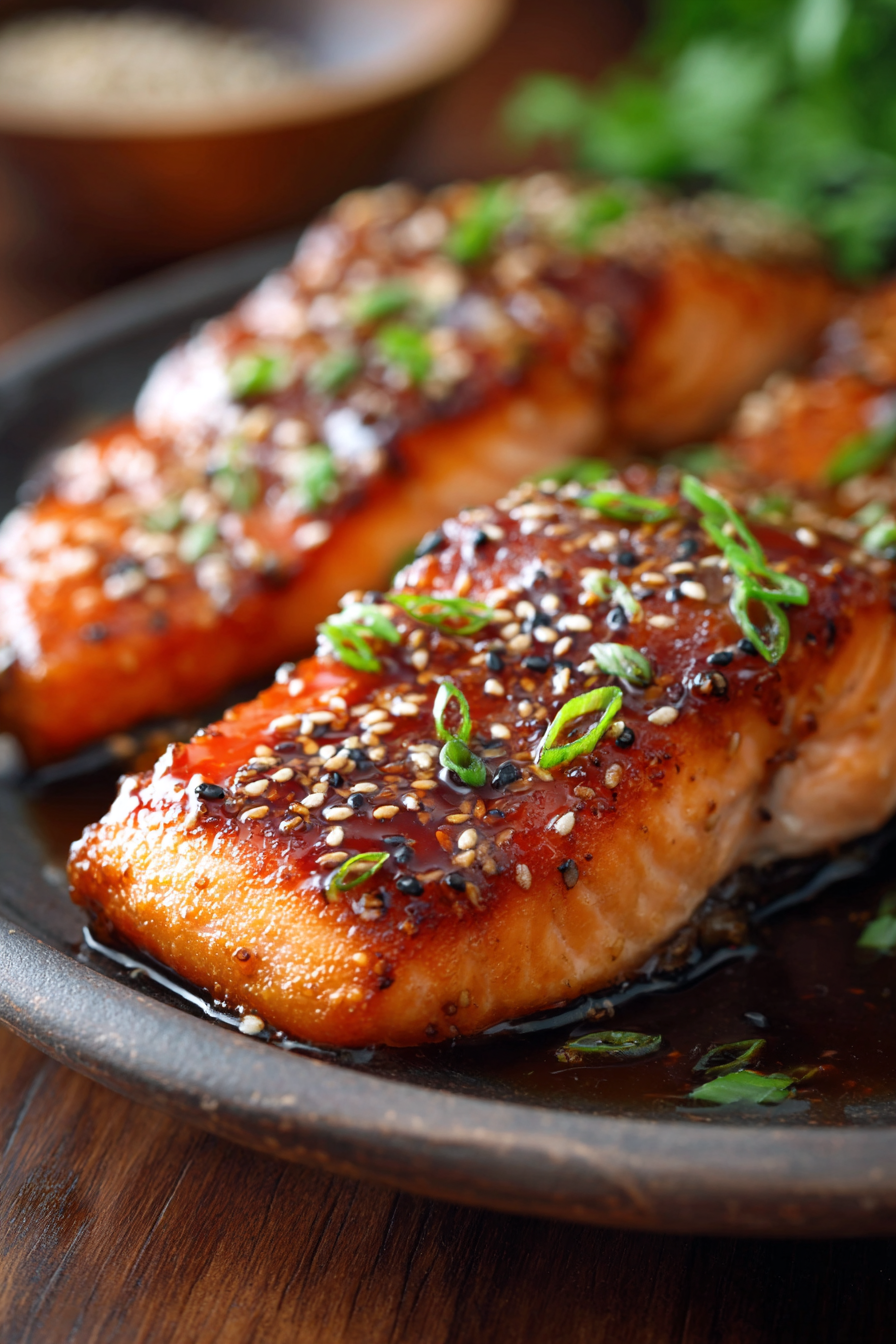
The beautiful glaze creates a stunning visual presentation.
This recipe is incredibly versatile; serve it with rice, noodles, or roasted vegetables.
Ingredients for Baked Teriyaki Salmon Recipe
Here’s what you’ll need to make this delicious dish:
The full ingredients list, including measurements, is provided in the recipe card directly below.
How to Make Baked Teriyaki Salmon Recipe
Follow these simple steps to prepare this delicious dish:
Step 1: Prepare the Salmon
Preheat your oven to 400°F (200°C). Pat the salmon filets dry with paper towels. This helps them crisp up nicely during baking.
Step 2: Make the Teriyaki Glaze
In a small bowl, whisk together the soy sauce, honey, rice vinegar, grated ginger, minced garlic, and sesame oil. Stir well to combine all the ingredients.
Step 3: Thicken the Glaze
In a separate small bowl, whisk together 1 tablespoon of cornstarch with 2 tablespoons of cold water until smooth. This slurry will help thicken the teriyaki glaze beautifully. Gradually whisk this mixture into the teriyaki sauce until fully incorporated.
Step 4: Glaze and Bake the Salmon
Place the salmon filets in a baking dish. Pour the teriyaki glaze evenly over the salmon, ensuring each filet is well coated. Bake for 12-15 minutes, or until the salmon is cooked through and flakes easily with a fork. The internal temperature should reach 145°F (63°C).
Step 5: Garnish and Serve
Remove the salmon from the oven and let it rest for a couple of minutes before serving. Garnish with chopped green onions. Serve immediately with your favorite sides, such as steamed rice or roasted vegetables. A simple side salad adds a refreshing counterpoint to the richness of the salmon.
Step 6: Enjoy!
Transfer to plates and drizzle with any remaining sauce for the perfect finishing touch. Enjoy your delicious, homemade Baked Teriyaki Salmon! Remember to share your culinary triumph with the world—post a picture on social media and tag me!
Perfecting the Cooking Process
Preheat your oven to 400°F (200°C). Prepare the teriyaki glaze first, then season the salmon fillets. Bake the salmon until cooked through, basting halfway through with the glaze for maximum flavor and a beautiful, glossy finish.
Add Your Touch
Feel free to experiment! Add a sprinkle of sesame seeds for extra crunch. Swap out the soy sauce for tamari for a gluten-free option. A squeeze of lime juice at the end brightens the dish beautifully.
Storing & Reheating
Store leftover Baked Teriyaki Salmon in an airtight container in the refrigerator for up to 3 days. Reheat gently in the microwave or oven, avoiding overcooking which can dry it out.
Prepare the glaze well in advance, allowing the flavors to meld.
Don’t overcrowd the baking dish; give the salmon space to cook evenly.
Basting halfway through cooking ensures a perfectly glazed and flavorful finish.
I once served this Baked Teriyaki Salmon at a potluck, and it disappeared faster than you can say “sushi”! Everyone raved about the glaze.
Conclusion for Baked Teriyaki Salmon Recipe
This Baked Teriyaki Salmon Recipe is a winner, offering a delicious and healthy meal that’s surprisingly easy to make. The sweet and savory teriyaki glaze adds incredible flavor without requiring any complicated techniques. The recipe is adaptable to your taste preferences, and it’s perfect for meal prepping. So, ditch the takeout and treat yourself to a restaurant-quality meal right at home! Give it a try – you won’t be disappointed. Enjoy!
Print
Baked Teriyaki Salmon Recipe
Delicious baked teriyaki salmon recipe recipe with detailed instructions and nutritional information.
- Total Time: 35 minutes
- Yield: 4 servings 1x
Ingredients
- 1.5 lbs Salmon fillet, skin on or off
- 1/4 cup Soy sauce
- 1/4 cup Mirin (sweet rice wine)
- 2 tablespoons Brown sugar
- 1 tablespoon Honey
- 1 tablespoon Rice vinegar
- 1 teaspoon Ground ginger
- 1 clove Garlic, minced
- 1 green onion, thinly sliced (for garnish)
Instructions
- Step 1: Preheat your oven to 400°F (200°C). Lightly grease a baking dish or line it with parchment paper.
- Step 2: In a small bowl, whisk together the soy sauce, mirin, brown sugar, honey, rice vinegar, ginger, and minced garlic. This is your teriyaki sauce.
- Step 3: Place the salmon fillet in the prepared baking dish. Pour the teriyaki sauce evenly over the salmon, ensuring it's coated on all sides.
- Step 4: Bake for 12-15 minutes, or until the salmon is cooked through and flakes easily with a fork. The cooking time will depend on the thickness of your fillet.
- Step 5: Garnish with thinly sliced green onions before serving.
- Step 6: Serve immediately with your favorite sides, such as rice, steamed vegetables, or a salad.
Notes
- Leftovers can be stored in an airtight container in the refrigerator for up to 3 days.
- Reheat gently in the microwave or oven to avoid drying out the salmon; a few splashes of extra mirin can help keep it moist.
- Serve this delightful salmon with a side of quinoa and roasted asparagus for a complete and healthy meal.
- For a richer, deeper teriyaki flavor, marinate the salmon in the sauce for at least 30 minutes before baking.
- Prep Time: 15 minutes
- Cook Time: 20 minutes
- Method: Stovetop
- Cuisine: American
FAQs
Can I use frozen salmon for this Baked Teriyaki Salmon Recipe?
Absolutely! Frozen salmon works perfectly well in this recipe. Just make sure to thaw it completely before baking. You can thaw it overnight in the refrigerator, or use the defrost setting on your microwave. Don’t rush the thawing process, as uneven thawing can lead to uneven cooking. Once thawed, pat the salmon dry with paper towels before applying the teriyaki glaze. This will help the glaze adhere better and get that lovely crispy skin. Remember, proper thawing is key for a delicious Baked Teriyaki Salmon Recipe.
How do I make the teriyaki glaze sweeter or less sweet?
The beauty of homemade glazes is the customization! To make the teriyaki glaze sweeter, simply add more honey or maple syrup. Start with a teaspoon at a time and taste as you go. For a less sweet glaze, reduce the amount of sweetener or add a splash of extra soy sauce or rice vinegar to balance the sweetness. Don’t be afraid to experiment and find your perfect sweet spot. Remember, it’s your Baked Teriyaki Salmon Recipe, so make it yours!
What can I serve with my Baked Teriyaki Salmon Recipe?
The possibilities are endless! This Baked Teriyaki Salmon Recipe pairs beautifully with steamed rice, quinoa, or even roasted vegetables like broccoli and asparagus. A simple side salad with a light vinaigrette would also complement the savory glaze. For a more substantial meal, consider serving it with stir-fried noodles or a light potato gratin. Don’t forget to garnish with some sesame seeds for extra flavor and visual appeal! Your Baked Teriyaki Salmon Recipe deserves fantastic accompaniments.
Is this Baked Teriyaki Salmon Recipe good for meal prepping?
Yes, indeed! This Baked Teriyaki Salmon Recipe is perfect for meal prepping. Once baked, the salmon can be stored in an airtight container in the refrigerator for up to 3 days. You can easily reheat individual portions in the microwave or oven. This makes for a quick and healthy weekday lunch or dinner. Simply prepare a big batch on the weekend and enjoy delicious, restaurant-quality salmon throughout the week, saving you precious time and effort with this fantastic Baked Teriyaki Salmon Recipe.


Leave a Comment